Shower demolition involves carefully removing an existing shower system so you can repair, update, or rebuild the bathroom. A successful project depends on planning, safe work practices, controlled debris handling, and knowing how bathroom tile removal and broader bathroom demolition fit into the overall renovation.
Start with a clear demolition plan
An outdated shower makes the whole bathroom feel tired, but removal takes more than a quick tear-out. Old tile, backer board, plumbing fixtures, and hidden moisture all add complexity once the work begins.
That is why a careful, process-driven approach matters. This guide covers the main dos and don’ts of shower demolition, what to expect during bathroom tile removal, and when professional bathroom demolition support may be the right next step.
What bathroom shower demolition involves
Shower demolition removes an existing shower, allowing you to repair or rebuild the space. These include tile, the shower base, doors, fixtures, backer board, and damaged surrounding materials. In some cases, it is limited to the shower. In others, it is part of a larger bathroom demolition project.
Bathroom tile removal usually refers to removing tile and setting materials from shower walls or floors, while bathroom demolition ranges from selective removal to a full tear-out. Homeowners often move forward when a shower is outdated, damaged, leaking, or no longer fits the layout. A process-driven approach matters because plumbing, waterproofing, subflooring, and nearby finishes can all be affected during removal.
Step-by-step shower demolition process
1. Evaluate the scope first
Before removing any materials, assess the shower and the surrounding room. Look at the tile’s condition, signs of moisture, the type of base or pan, access to plumbing, and the condition of nearby finishes.
This is also the stage at which the team decides whether the work is limited to shower demolition or is part of a larger renovation. Starting with a clear scope helps prevent avoidable damage and keeps the project more organized from the beginning.
2. Shut off the water and protect the work area
Shut off the shower’s water lines before removing any fixtures. Once you address the utilities, protect the surrounding area with floor coverings, doorway protection, and dust control materials. These steps help reduce mess, limit disruption in occupied homes, and keep nearby finishes from getting damaged during removal. A cleaner setup usually leads to a more controlled demolition process.
3. Remove trim, glass, and fixtures first
Remove shower doors, glass panels, trim pieces, hardware, and plumbing trim before starting heavier tear-out. Taking out these smaller components first opens up the workspace and makes the rest of the job easier to manage. It also reduces the risk of accidental breakage and provides the crew with better visibility as demolition progresses.
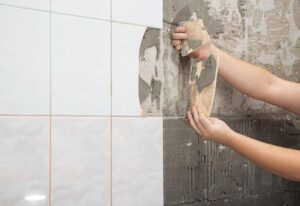
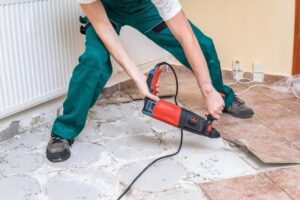
4. Start tile and wall material removal in sequence
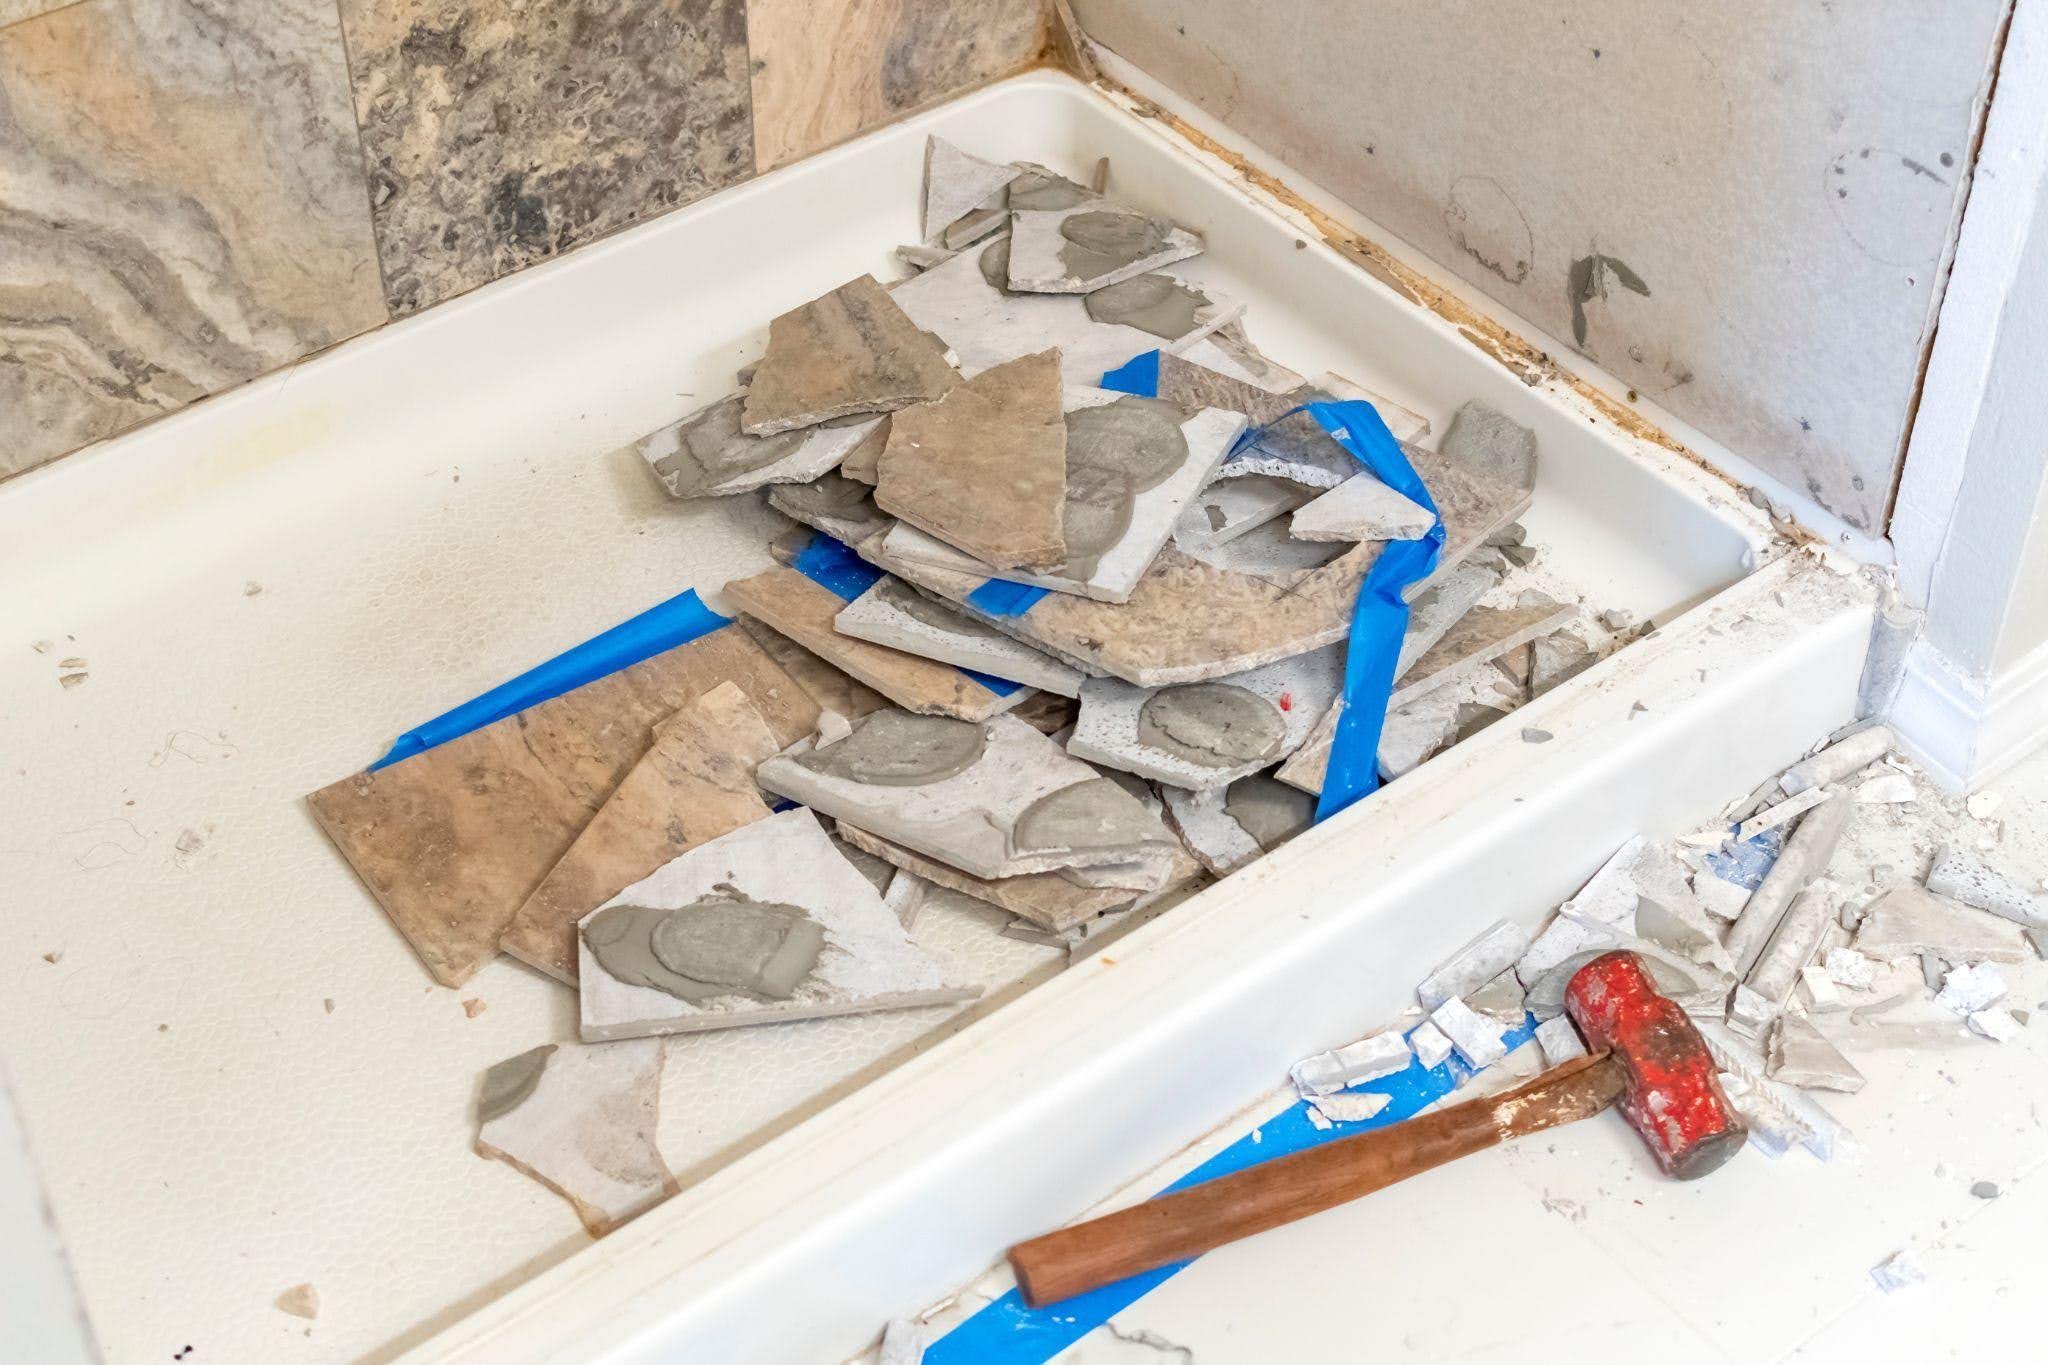
This is where bathroom tile removal becomes a major step. Tile often comes off with backer materials, adhesive, or mortar, depending on how the builder constructed the shower. Working in sequence helps control debris, keeps the removal process more organized, and makes it easier to inspect what is behind the finished surface. This stage often reveals whether the project is more involved than it first appeared to be.
5. Remove the shower base or pan
Once you open the wall system, detach and remove the base or pan. Some units come out in sections, while others require a more involved removal process, depending on how the installer originally installed them. Material type, age, and plumbing location all affect this step. Carefully removing the base helps prevent unnecessary damage to the surrounding structure and prepares the space for the next phase of work.
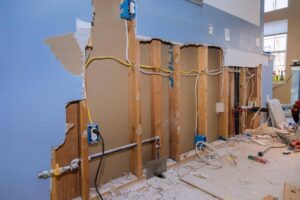
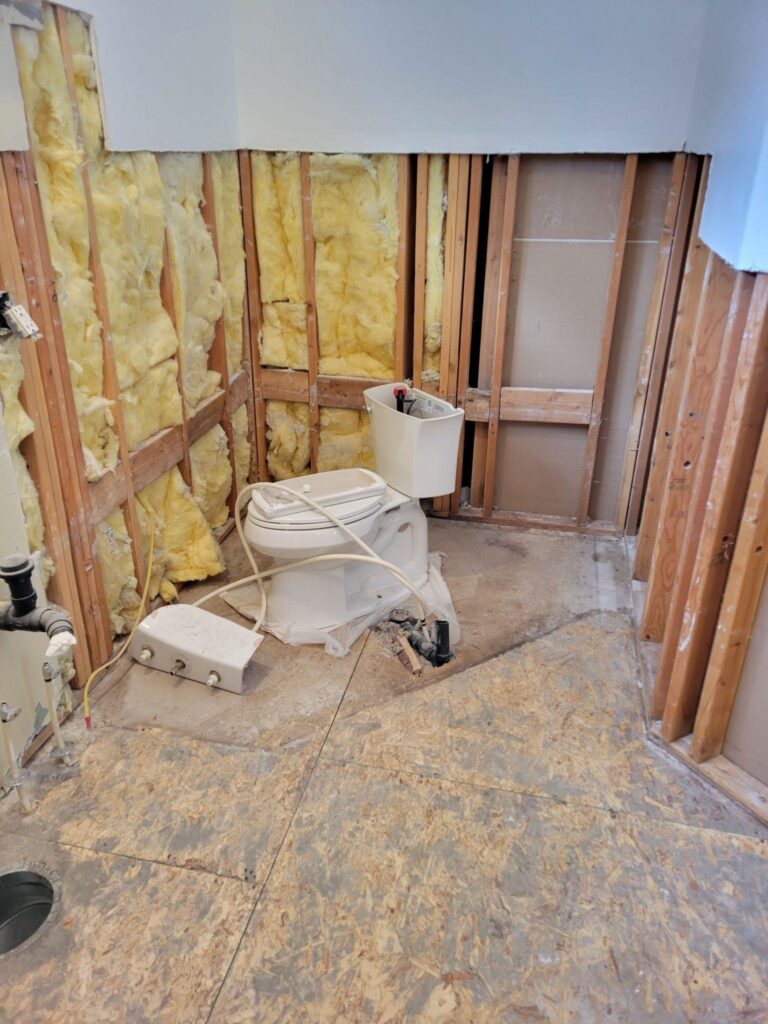
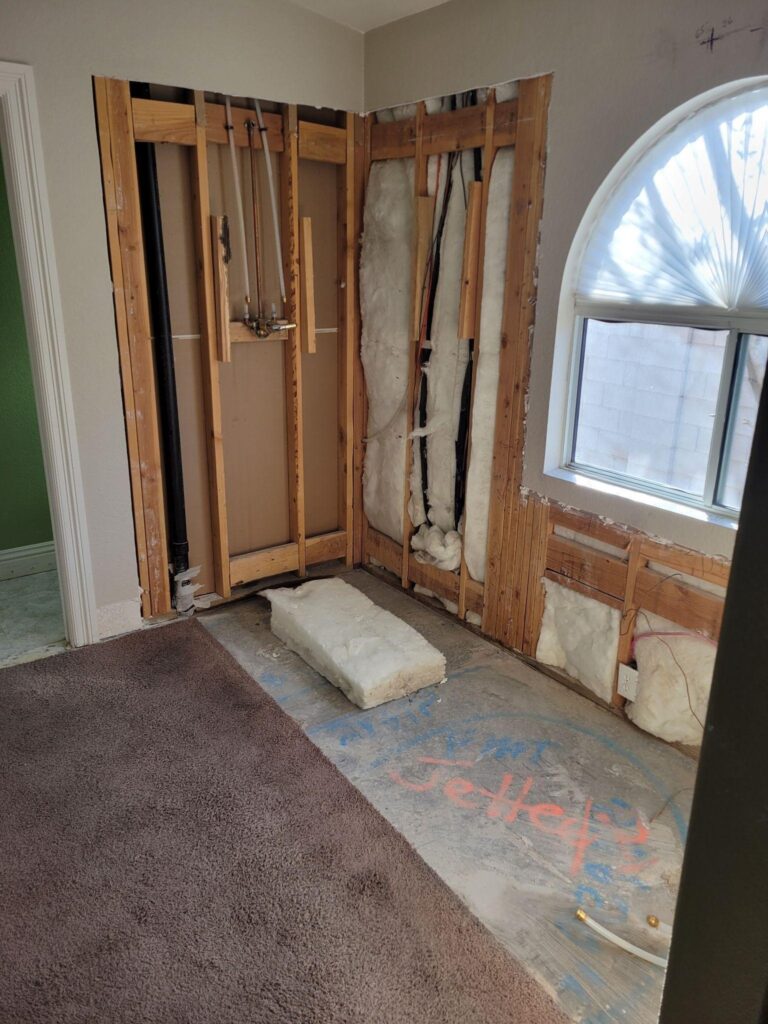
6. Inspect the exposed framing and subfloor
After removing the main materials, check the exposed structure for soft spots, staining, or deterioration. This part of the process often reveals issues hidden beneath the finished surfaces. That is one reason you should never treat shower demolition as surface-level work. What is behind the tile often determines whether repairs are needed before rebuilding can begin.
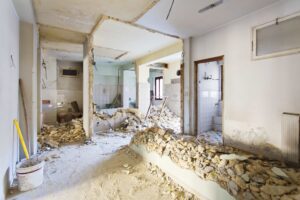
7. Clear debris and prepare for the rebuild
The final step is full cleanup and job-site prep. That means hauling debris, clearing dust, and making sure the space is ready for repair, waterproofing, or installation. Good demolition does more than remove old materials. It creates a cleaner, safer starting point for the next phase and helps the rebuild move forward with fewer delays.
When a shower demolition may be needed
Shower demolition may be part of a smaller bathroom update or a larger remodel. In some cases, the goal is simply to remove an outdated shower while protecting the rest of the room. In others, the project is part of a broader bathroom demolition plan that includes flooring, fixtures, or layout changes.
It may also be necessary when the shower is damaged, no longer fits the space, or shows signs of wear that affect function and appearance. Bathroom tile removal also uncovers hidden moisture issues, damaged backer board, or other worn materials beneath the surface. No matter the scope, a clear plan helps the work stay more controlled and keeps the next phase of the project moving forward.
Benefits and importance
A careful demolition approach offers several practical benefits:
- Protects nearby finishes: Controlled removal protects flooring, vanities, trim, and walls that aren’t part of the replacement plan.
- Improves renovation planning: Once you remove the materials cleanly, contractors can see what repairs, leveling, or updates the space needs.
- Keeps debris manageable: Organized bathroom demolition makes hauling, disposal, and cleanup easier from day one.
- Reveals hidden issues earlier: Removal often exposes moisture damage, aged materials, or installation problems before new finishes go in.
- Supports cleaner rebuild work: When you handle bathroom tile removal and shower removal in the right order, the next trade can start with a more predictable surface.
- Reduces avoidable delays: Good prep and sequencing help keep the project moving instead of creating preventable setbacks.

Mistakes homeowners should avoid during shower demolition
- Starting without a clear scope
Many shower projects involve more materials than homeowners expect. Without a clear plan, removal quickly spreads beyond the intended area.
- Assuming bathroom tile removal is simple
Tile removal often exposes mortar, backer board, or hidden moisture damage. What looks like a surface-level job becomes more involved once work begins.
- Failing to protect the surrounding surfaces
Floors, vanities, mirrors, trim, and doorways are all affected during demolition if the work area isn’t properly protected first.
- Removing materials in the wrong order
Glass, fixtures, trim, tile, and the shower base should come out in a logical sequence. Skipping that order makes the job harder and less controlled.
- Underestimating debris and cleanup
Old tile, mortar, and shower materials add up quickly. Planning for hauling and disposal from the start helps keep the site safer and more organized.
- Assuming every bathroom is the same
Construction type, layout, age, and water exposure all shape how you should handle demolition. A better approach is to respond to the space’s actual condition.
Bathroom demolition facts and resources
- Water management is part of the bigger picture
After the shower demolition, the exposed area should be evaluated with water control in mind so the next installation can start on a better foundation.
- Debris and cleanup are part of the process
Bathroom tile removal and demolition create more waste than many homeowners expect, so plan for hauling and disposal early.
- Bathroom remodels remain common
Many homeowners continue to invest in renovation projects, which makes the removal phase an important part of the overall plan.
What helps a shower demolition project go more smoothly
The right tools depend on the construction type and project scope, but the bigger point is using the right process. Protection materials for floors and doorways, containment materials for dust, hand tools for finish removal, hauling containers, and proper safety equipment all support a cleaner job.
For homeowners, the most important recommendations are simple:
- Start with a site assessment
- Know whether the project is limited to the shower or part of a full bathroom demolition plan
- Treat bathroom tile removal as a deeper removal task
- Plan for debris handling before work starts
- Bring in a professional when plumbing, heavy materials, water damage, or a larger scope is involved
A professional team also helps identify where selective removal makes sense and where a broader tear-out may save time during the rebuild.
FAQ
How much is it to demo a shower?
The price to demo a shower depends on the shower size, tile thickness, access to the room, debris volume, and whether surrounding materials need to come out, too. Straightforward jobs usually cost less than projects with heavy tile, hidden damage, or plumbing-related complications that expand the scope.
How much does it cost to remove a shower?
The cost to remove a shower usually includes labor, debris hauling, disposal, surface protection, and the time required to safely remove old materials. If the work also includes nearby wall removal, repairs, or broader renovation prep, the price typically increases because the project becomes more involved.
How difficult is it to remove a shower?
Removing a shower is often more difficult than it first appears. Tile, backer board, waterproofing layers, a base or pan, and plumbing connections all add complexity. The job becomes harder when the bathroom has tight access, older materials, or signs of water damage behind the finished surface.
How hard is it to demolish a bathroom?
A full bathroom tear-out is usually more demanding than a shower-only removal because more finishes, fixtures, and debris are involved. Flooring, tile, vanities, and adjacent surfaces all need planning and protection. The layout, materials, and amount of the room you plan to preserve all affect the difficulty.
Plan your bathroom demolition with the next step in mind
A well-executed shower removal creates a better starting point for everything that follows. Instead of turning the bathroom into a bigger repair project, careful demolition helps uncover what needs attention, protects what should stay in place, and makes the transition into the rebuild phase much more manageable for the homeowner.If you are planning a shower demolition or a larger bathroom demolition project, contact Cutting Edge Demolition to discuss the scope, removal process, and what comes next.