Removing wall tile without damaging the drywall requires a controlled technique, proper prep, and patience. Start by protecting nearby surfaces, scoring grout lines, and prying tiles off at a low angle in small sections. Use heat only when needed to soften the adhesive. For cleaner work and fewer repairs, dustless tile removal and careful tile demolition methods make a major difference.
Why wall tile removal often turns into drywall repair
One tile can turn a quick refresh into a drywall repair job if you remove it the wrong way. Adhesives, moisture exposure, and older installation methods often make removal tougher than expected.
In this guide, you’ll learn how to plan a clean, controlled tile demolition, how to protect drywall while you work, and which tools help you stay precise. You’ll also learn when professional tile removal makes sense, especially when the tile fights back, the mess escalates, or you want a faster path to a smooth, paint-ready wall.
Table of contents
Why wall tile removal often turns into drywall repair
What makes wall tile removal risky for drywall
Benefits of careful tile removal
Data and statistics homeowners should know
Tools and products that make tile removal easier
Start your remodel strong with Cutting Edge Demolition
What makes wall tile removal risky for drywall
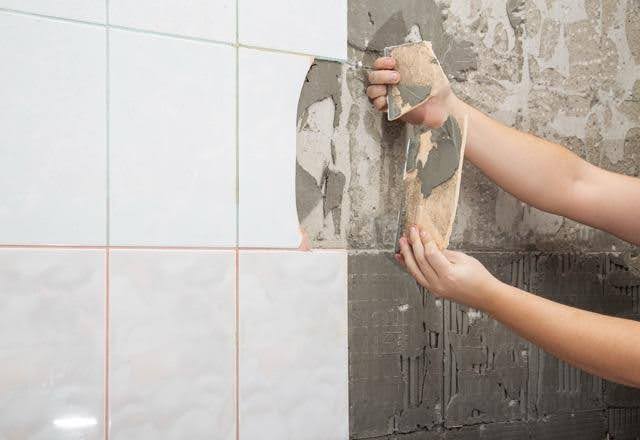
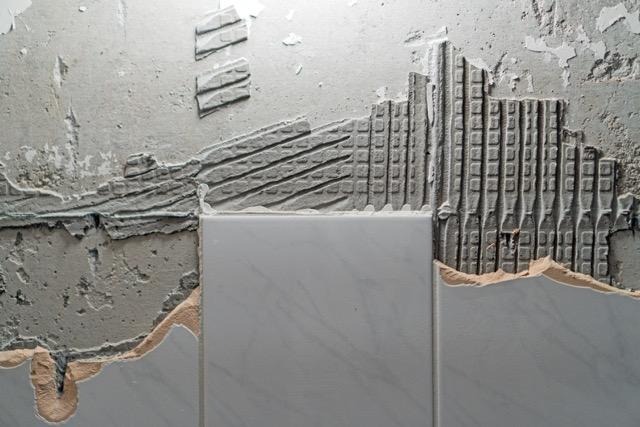
Drywall fails during tile removal for one simple reason: tile bonds aggressively, while drywall relies on a thin paper face for strength. When installers set tile with mastic or thinset over drywall, the adhesive grabs the paper so firmly that the tile releases by tearing the surface right off the wall. That damage creates soft spots, bubbles, and uneven areas that show through paint or new finishes.
Moisture makes it worse. Bathrooms, laundry rooms, and even kitchens expose tile assemblies to humidity and splashes, which weaken drywall behind the surface while the adhesive continues to hold tight.
If you want cleaner results and fewer repairs, start with a controlled approach and consider dustless tile removal strategies to keep the workspace visible and manageable. A carefully planned tile demolition protects the drywall by keeping your tools stable, your angles shallow, and your removal area small.
Step-by-step guide to removing wall tile safely
1. Confirm what’s behind the tile
Look at the edges near outlets, vents, or unfinished transitions. If you see a dense, cement-like board, you may have cement board. If you see gypsum and paper, you have drywall. This single step helps you set the right expectations for tile demolition and the amount of patching you may need.
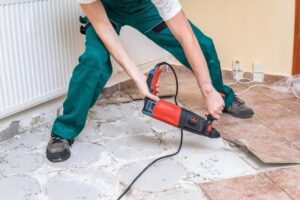
2. Prep the room for control and cleanliness
Shut off power to nearby outlets, remove cover plates, and protect counters and floors. Seal off doorways with plastic to contain dust and debris. For the cleanest setup, pair containment with dustless tile removal tools that capture debris at the source.
3. Score grout lines before you pry
Use a utility knife or grout saw to cut grout lines and break the seal around each tile. Scoring controls where the tile releases and reduces the chance of tearing drywall paper beyond the tile’s footprint.
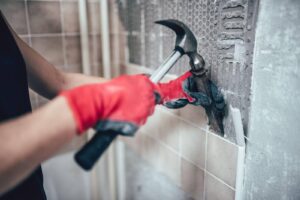
4. Start at a weak point and work in small sections
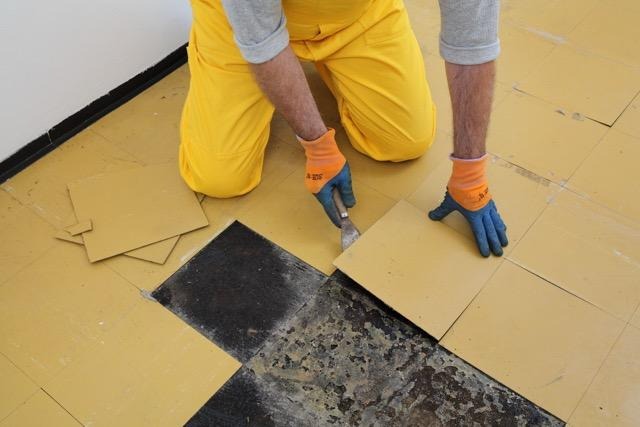
Begin at an edge, corner, or outlet cutout. Slide a stiff putty knife behind the first tile and tap gently with a hammer. Keep the blade as parallel to the wall as possible. That low-angle approach helps you lift the tile rather than digging into the drywall.
5. Use heat carefully to soften the adhesive
If the mastic feels rubbery and stubborn, warm the tile area with a heat gun or hair dryer. Heat reduces pull on drywall paper, but too much heat blisters paint, softens drywall, or affects wiring near outlets. Use it sparingly, and keep the tool moving.
6. Remove adhesive residue without shredding the wall
After the tile comes off, scrape the adhesive lightly with a wide putty knife. If the drywall face starts to fuzz or peel, stop scraping aggressively. At that point, sealing with primer and a skim coat may be better than continuing to gouge the surface.
7. Patch as you go to keep the wall flat
Fill small tears or divots with joint compound, let it dry, and knock down ridges before moving on. This keeps the wall more even and prevents a wavy finish later.
8. Know when to stop and call in help
If tiles repeatedly rip large sections of drywall paper, the fastest route may be professional tile removal. Pros evaluate whether to continue removal, switch methods, or replace sections of drywall to save time and improve the final finish quality.
Benefits of careful tile removal
Methodical tile removal delivers real payoffs throughout your remodel, including:
- Less drywall damage and fewer areas to skim coat or retexture
- Faster repairs, so you can move on to paint, paneling, or new tile sooner
- A flatter, cleaner surface that makes the next installation look better
- Less mess and disruption during the workday
- Better protection for nearby finishes, including cabinets, trim, and countertops
- Easier cleanup, especially when you use dustless tile removal to keep debris contained
- A smoother handoff to the next trade, reducing delays in the renovation schedule
Common mistakes to avoid
Homeowners often damage drywall during tile removal by making a few preventable mistakes, including:
- Moving too fast and losing control of the tool and tile release
- Prying at a steep angle, which wedges into the drywall and tears the paper face
- Skipping grout scoring, causing tiles to break unpredictably, and increasing the force needed
- Removing too much at once makes it harder to control where tiles pop free
- Ignoring early warning signs, like drywall paper tearing off with the first few tiles
- Pushing through repeated wall damage instead of switching methods or calling for professional tile removal
- Underestimating dust, especially when you skip barriers, HEPA vacuuming, or dustless containment steps
Data and statistics homeowners should know
- Tile work creates silica dust. Cutting, grinding, or chipping tile and mortar releases respirable silica, and OSHA sets the construction limits at 50 μg/m³ (PEL) and 25 μg/m³ (action level) over an eight-hour average.
- Containment reduces dust spread. NIOSH recommends negative air pressure in the work area and HEPA vacuuming to limit dust migration into occupied spaces.
- Barriers and ventilation help protect indoor air. EPA recommends isolating the work area and using ventilation to control dust and pollutants during remodeling.
Tools and products that make tile removal easier
- Utility knife or grout saw
- Putty knife and wide scraper
- Small hammer
- Oscillating multi-tool (careful use)
- Plastic sheeting and painter’s tape
- HEPA shop vac
- Dustless tile removal attachments/shrouds
- Joint compound, sanding sponge, and primer
If the wall keeps tearing or the area is large, professional tile removal saves time and prevents bigger drywall repairs.
FAQs
Can I remove tile from drywall without replacing the drywall?
Yes, sometimes — especially for small areas. If the drywall paper tears repeatedly, plan to patch, skim coat, or replace sections.
What is the best way to reduce dust during tile removal?
Seal the area with plastic, protect HVAC returns, and vacuum as you go with a HEPA shop vac. Avoid dry sweeping.
How do I know if my tile is installed over cement board or drywall?
Check edges near outlets or trim. Cement board looks dense and cement-like, while drywall has a paper face. If unsure, remove one test tile at an edge.
When should I hire a pro instead of doing it myself?
Call a pro if the drywall keeps tearing, the area is large, or you suspect moisture damage. Pros also help if you need faster, cleaner results.
What should I do if I find mold or water damage behind tile?
Stop and assess the source and extent. Repair the moisture issue first, then replace damaged materials before rebuilding.
Start your remodel strong with Cutting Edge Demolition
Removing wall tile without damaging the drywall requires a controlled approach, proper prep, and a steady technique. Start with a small test area, score grout lines, and pry at a low angle in small sections.
If the wall begins tearing repeatedly or the mess escalates, contact Cutting Edge Demolition to handle the work cleanly and efficiently, so your remodel starts with a smooth, stable surface. You’ll save time, reduce repairs, and move into the next phase with confidence.
kampungbet