Every successful kitchen demolition starts with a clean slate. Few tasks appear as simple — but prove as challenging — as kitchen backsplash removal. Many homeowners assume this step requires little effort, but poor technique leads to cracked drywall, uneven surfaces, and unnecessary repair bills.
The truth is that removing a kitchen backsplash requires patience, precision, and planning. Whether you’re upgrading tile, switching materials, or undertaking a complete kitchen demolition, how you handle this early phase determines how smoothly the rest of your renovation proceeds. When done correctly, it sets the stage to install new design elements cleanly and securely.
This guide walks you through the process of removing a backsplash without damaging your walls, outlines the necessary tools, and explains when to consider professional kitchen demolition services to keep your renovation on track.
Why kitchen backsplash removal requires planning
Backsplashes are decorative elements built to last. They bond to drywall or cement board using strong adhesives, such as thinset mortar or mastic. Over time, these materials harden, forming a tight grip that resists quick removal. Pull too hard or use the wrong tools, and you’ll take chunks of wall with the tile.
That’s why backsplash removal should always start with a clear plan. Identify what’s behind your backsplash, understand the adhesive used, and know how to protect surrounding surfaces.
Kitchen demolition may sound like tearing things down fast, but true precision lies in working methodically. Rushing this stage leads to deeper gouges, retexturing costs, and longer project timelines.
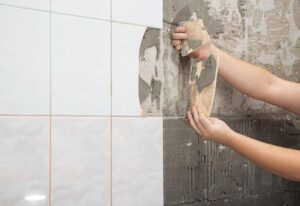
A well-executed kitchen backsplash removal protects your walls and provides a perfectly level surface for your next installation — tile, glass, or stone — to adhere to.
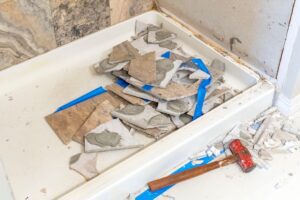
Step 1: Prepare the workspace
Every clean demolition begins with careful setup. Before any tile comes off, protect your kitchen from flying debris and dust.
- Turn off electrical power to outlets near the backsplash and remove outlet covers. You don’t want a metal tool to come into contact with a live wire.
- Cover countertops, floors, and appliances with drop cloths, cardboard, or plastic sheeting. Tile fragments will scratch or chip nearby surfaces.
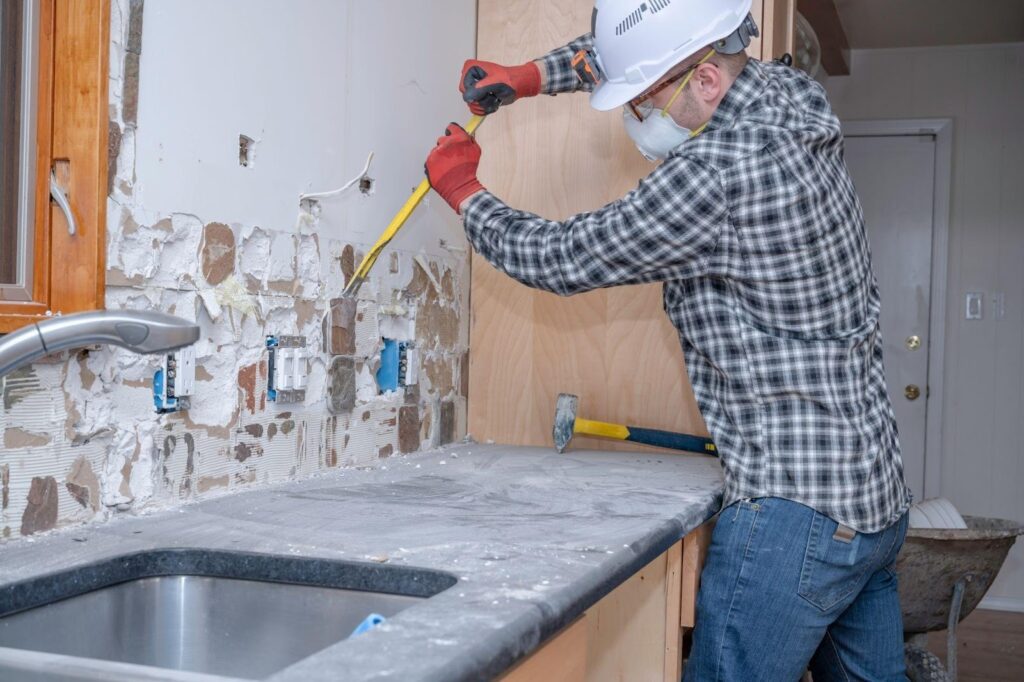
- Wear proper safety gear, including gloves, goggles, long sleeves, and a dust mask. Even small backsplash removals release fine particles and sharp edges.
If you’re working in a tight area, use plastic tape to secure plastic sheets from the ceiling to the countertop, isolating the workspace. This simple step keeps the rest of your home clean and safe during your kitchen demolition.
Taking time to prep the space means fewer interruptions and less cleanup later — two things every homeowner appreciates during a remodel.
Step 2: Identify the wall type and tile material
Not every kitchen wall reacts the same way during backsplash removal. The underlying surface determines how aggressive you can be.
- Drywall: This is the most common surface, but also the easiest to damage. Tiles bonded to drywall often pull away from the paper layer, leaving soft or torn spots that require patching.
- Cement board: More durable and water-resistant, but requires more effort to remove tiles and adhesive.
- Plaster or brick: Found in older homes and typically more fragile or uneven, needing careful chisel work.
You should also determine what adhesive holds your tiles in place. Thinset mortar feels chalky and solid, while mastic resembles dried glue. This detail helps you choose whether a heat gun, scraper, or oscillating tool will make the job easier.
Testing a small section before complete removal allows you to gauge how stubborn the materials are — an important step in any well-planned kitchen demolition.
Step 3: Start at the edges
Every backsplash has a weak point. Begin there. Corners, outlets, or transition areas between the wall and countertop make ideal starting spots.
Use a utility knife to score grout lines and break the tile’s seal. Then, take a putty knife or chisel and gently tap behind the first tile with a hammer. Pry slowly, working at a low angle to lift tiles off the wall instead of digging into it.
Once the first piece comes off, the rest follow more easily. Work in small sections, never rushing. A few extra minutes per tile could save you from expensive drywall repairs later.
Keeping a small bucket or box nearby for debris helps maintain a clean, organized workspace — a habit every professional offering kitchen demolition services follows.
Step 4: Work methodically and protect the drywall
The goal isn’t speed — it’s preservation. Every time you slip the chisel between the wall and the tile, ensure it remains parallel to the wall, not angled inward. Even a slight angle will damage the drywall, creating divots that require extra time to repair.
For stubborn tiles, use a heat gun or hair dryer to soften the adhesive beneath. Warming the area makes the bond more pliable and reduces the risk of wall damage.
As you go, check the wall frequently. If small tears appear, pause and patch them with a light coat of joint compound. Let it dry, then continue removing tiles nearby. This attention to detail ensures your wall remains even and sturdy for the next backsplash installation.
Smooth walls mean faster, cleaner reinstallation — and that’s what separates amateur demolition from professional-grade kitchen demolition services.
Step 5: Remove adhesive residue and smooth the surface
Even after the tiles are gone, adhesive often lingers behind. Leaving it in place creates uneven spots that affect the alignment of the next backsplash.
To finish the surface:
- Use a scraper or putty knife to remove loose thinset or mastic.
- For thick layers, apply gentle heat to soften the material before scraping.
- If the wall still feels rough, sand lightly using fine-grit sandpaper.
Once smooth, apply joint compound to fill any gouges, cracks, or uneven areas. Allow it to dry completely, then sand again for a flawless finish.
This step is essential. Many homeowners skip it, only to struggle with crooked tile later. Professional kitchen demolition services always leave surfaces flat and ready for reconstruction, saving hours of rework during the installation process.
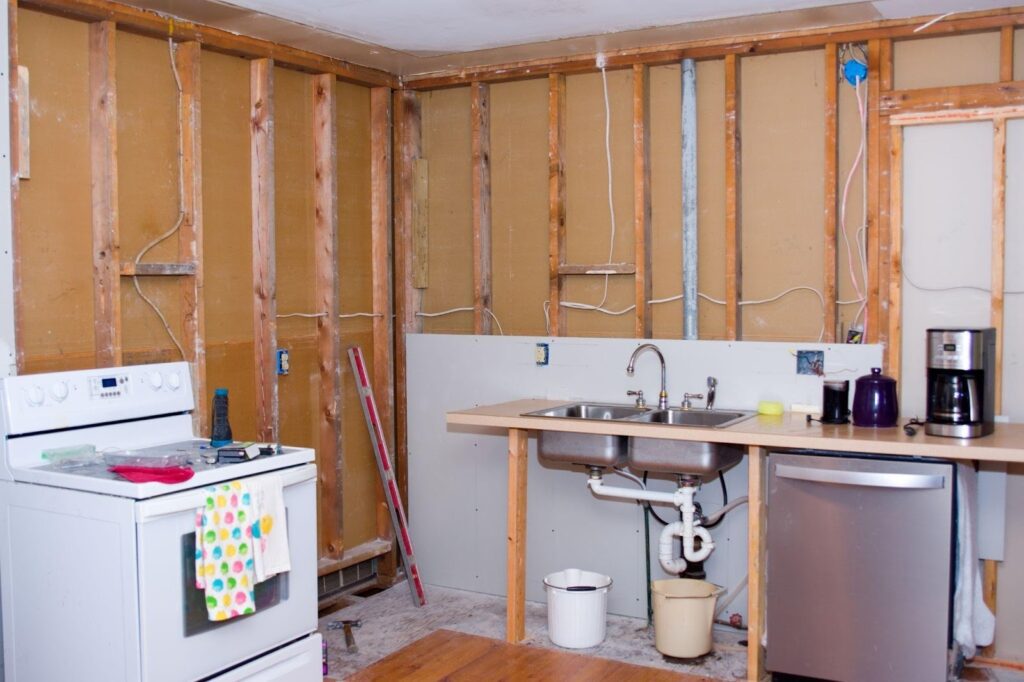
Step 6: Inspect and repair before moving forward
After removing the backsplash and adhesive, take time to inspect the wall. Look for water stains, soft spots, or dark patches, as these may signal hidden moisture damage.
If the drywall feels spongy, it’s best to cut out and replace that section rather than patch over it. For minor issues, a skim coat of joint compound usually restores the surface.
Run your hand across the wall to check for bumps or dips. A perfectly level surface helps tiles or panels sit evenly once the new backsplash goes in. Any imperfections left behind will be visible in your finished design.
This inspection stage is what makes or breaks the final look. Careful demolition now means smoother construction later.
When to call a professional
Some backsplash projects push beyond what a DIYer can safely handle. If your tiles extend across walls, sit behind heavy fixtures, or over cement board, it’s time to call the experts.
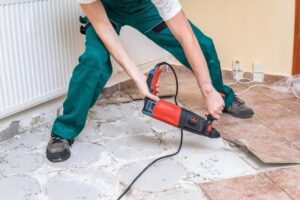
Professional kitchen demolition services utilize specialized tools, including oscillating saws, dust extractors, and protective barriers, which make the process faster and cleaner. They know how to work around electrical lines, plumbing, and cabinetry without causing collateral damage.
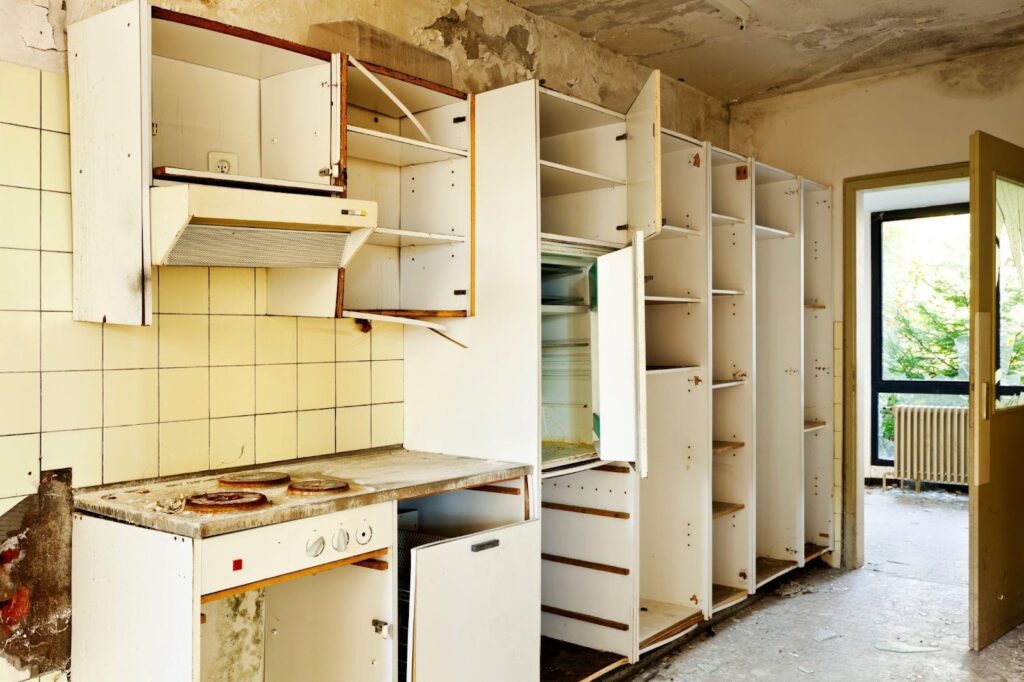
Hiring a professional team like Cutting Edge Demolition also helps when your renovation involves larger kitchen demolition tasks, such as removing countertops, old cabinets, or flooring alongside the backsplash. Their experience ensures efficiency, safety, and precision throughout the entire process.
How professionals streamline backsplash removal
Homeowners often underestimate the amount of mess and noise that backsplash removal generates. Pros manage both. They section off work areas with dust barriers, use noise-reducing tools, and dispose of debris properly.
They also repair or replace drywall immediately after removal, preparing the wall for tile setters or general contractors to move in without delay. This seamless handoff keeps the renovation timeline tight — a benefit every remodel can appreciate.
By trusting skilled demolition professionals, you gain more than convenience; you protect the integrity of your kitchen structure while ensuring your remodel starts on solid ground.
Work with Cutting Edge Demolition
Backsplash removal is more than tearing down old tile. It’s a crucial step in shaping what comes next. Done carefully, it preserves your walls, saves you money, and paves the way for a flawless renovation.
Whether you’re tackling a simple backsplash update or a complete kitchen demolition, precision and planning make all the difference. Take the time to prepare, work methodically, and inspect your progress.
And when the project requires advanced equipment or heavy-duty expertise, partner with professional kitchen demolition services to ensure your renovation is efficient and safe.For a clean, damage-free foundation for what comes next, contact Cutting Edge Demo. When your renovation begins with precision, it ends with perfection.