Ready to transform your outdated kitchen into a stunning culinary paradise? The first step is kitchen demolition. We’re here to guide you through every step, ensuring a smooth and successful process.
Kitchen demolition requires careful planning and preparation. Without a solid game plan, you might face unexpected challenges, increased costs, and delays. A clear roadmap is essential.
In this blog, you’ll learn everything about kitchen demolition — from assessing the project’s scope and obtaining permits to prioritizing safety, disconnecting utilities, and protecting your home. We’ll provide a step-by-step guide on tearing down cabinets, walls, and flooring, and offer tips on managing unexpected issues and cleanup.
So, grab your safety goggles, and let’s dive into kitchen demolition!
Pre-demolition planning
It is important to thoroughly plan and prepare before you start your kitchen demolition. Proper planning saves time and money and prevents headaches.
Assess the project scope
Evaluate your demolition needs. Are you gutting the entire kitchen or removing specific parts? Consider potential issues like outdated wiring or hidden mold. This helps you anticipate challenges and set realistic expectations.
Obtain necessary permits
Demolition often requires permits, particularly for structural changes. Contact your local building department early to understand and secure the necessary permits and avoid fines and delays.
Prepare a timeline and budget
Create a detailed timeline and budget. Break the project into phases and consider factors like professional availability, equipment delivery, and potential delays. Include costs for labor, tools, permits, and a contingency fund for unexpected expenses. A well-defined plan keeps your project on track.
By taking these steps, you’ll lay a strong foundation for a successful kitchen demolition, making the process smoother and more manageable.
Safety first
Safety is paramount in kitchen demolition. Protecting yourself and your home from hazards ensures a smooth, injury-free process. Here are the essential safety measures.
Importance of safety gear
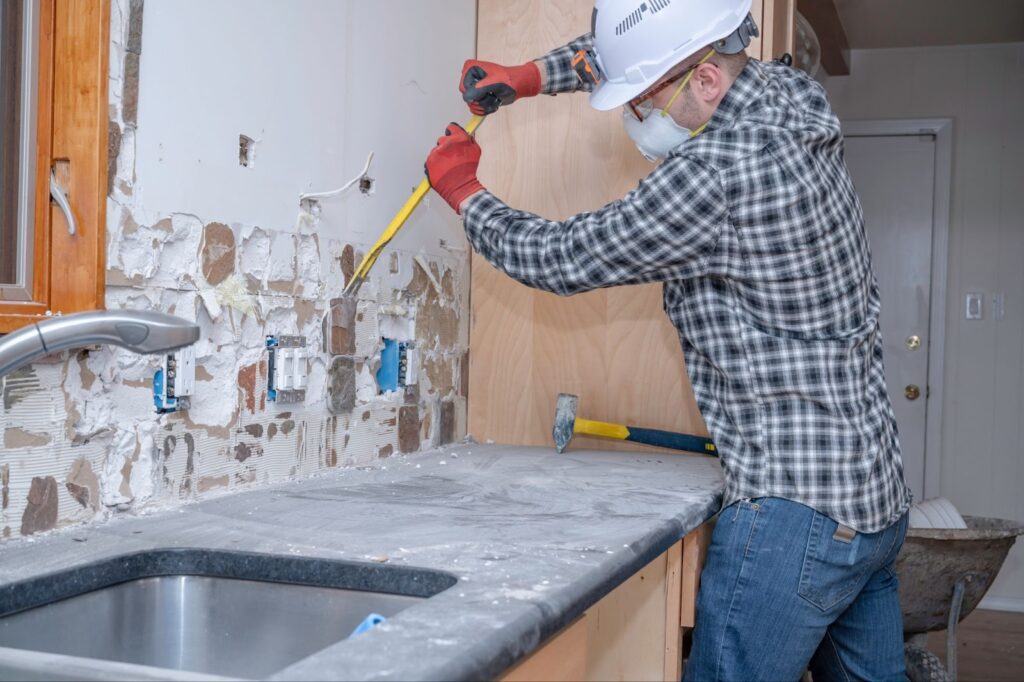
Before you start, gear up with work gloves, safety goggles, a hard hat, and steel-toed boots. Wear a dust mask or respirator to avoid inhaling harmful particles. Stay alert, avoid distractions, and keep a first-aid kit handy.
Securing the work area
Clear the kitchen of all items and cover floors and furniture with heavy-duty tarps or plastic sheeting. If tearing down walls, use temporary supports to maintain structural integrity. Designate a clear debris removal path to prevent tripping hazards.
Handling hazardous materials
Handle hazardous materials like asbestos, mold, and lead paint with caution. Homes built before the 1980s may contain asbestos; hire professional demolition services to test and remove it safely. If you find mold, stop work and consult a specialist. For lead paint, use lead-safe practices like wet sanding and HEPA vacuums.
Prioritizing safety and taking these precautions ensures a smooth and secure kitchen demolition. This protects you, your team, and your home, paving the way for a successful renovation.
Preparing the kitchen
Before demolition begins, meticulous preparation is essential for a smooth process and to protect your home from damage.
Disconnecting utilities
Start by turning off all utilities. Shut off the water supply at the main valve to prevent leaks. Disconnect the gas supply and lines to avoid hazards. Finally, turn off the electricity at the circuit breaker to prevent shocks or fires. Double-check to ensure everything is off before proceeding.
Removing appliances and fixtures
Once utilities are disconnected, clear the kitchen of appliances. Remove the refrigerator, stove, dishwasher, and microwave, enlisting help for heavy items. Next, unscrew and disconnect fixtures like sinks, faucets, and light fixtures, storing them safely for reuse or sale.
Protecting floors and surrounding areas
With the kitchen empty, protect floors and surrounding areas. Lay down heavy-duty tarps or drop cloths and secure them with painter’s tape. Cover walls and cabinets with plastic sheeting to keep them dust-free. Seal off doorways with plastic barriers to contain the mess and prevent dust from spreading.
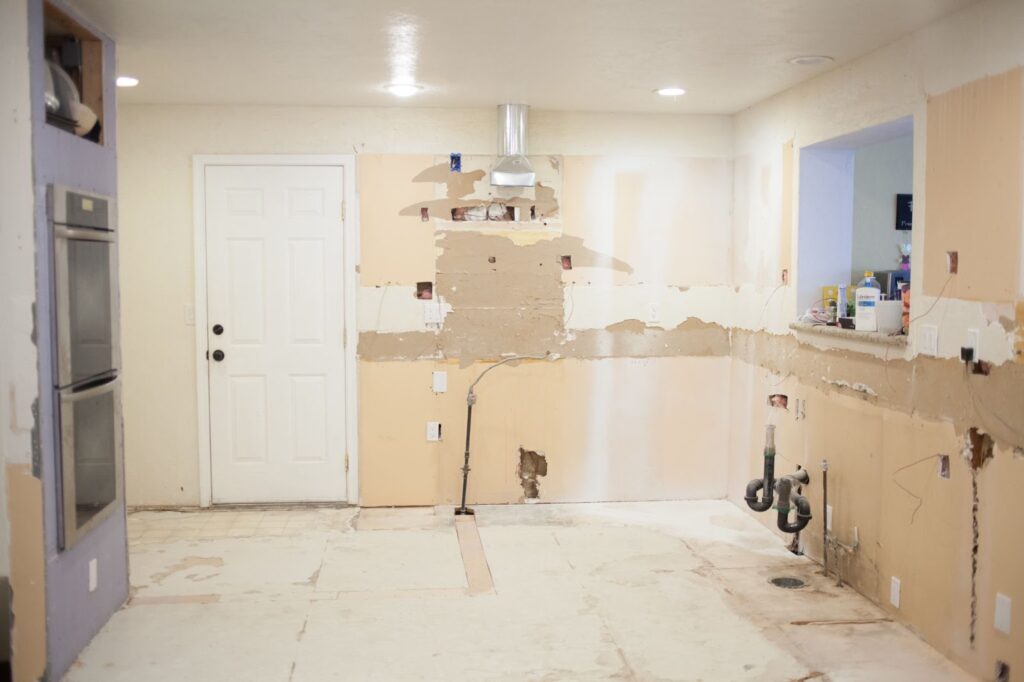
Thoroughly preparing your kitchen ensures a more efficient and hassle-free demolition, which sets the stage for a smooth renovation.

The demolition process
With everything prepped and ready, it’s time to dive into the exhilarating demolition process. Knowing what tools you need and how to approach each step will ensure a smooth and efficient teardown.
Tools and equipment needed
Before you start, gather the essential tools: sledgehammers, pry bars, screwdrivers, reciprocating saws, utility knives, and heavy-duty trash bags. Protective gear like gloves, goggles, and masks are non-negotiable. Renting a dumpster or arranging for a debris pickup service will streamline cleanup.
Step-by-step guide to demolition
Cabinets and countertops
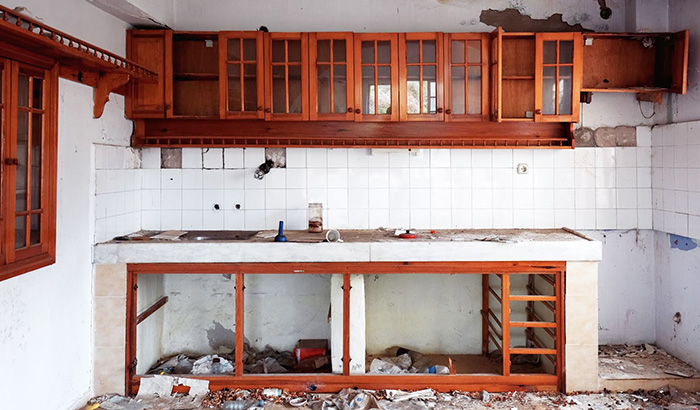
Start with the cabinets. Remove doors, drawers, and shelves, setting aside anything you plan to reuse or donate. Use a screwdriver or drill to detach cabinets from the walls. For countertops, carefully cut any caulking or adhesive with a utility knife; then, use a pry bar to lift and remove them. Be mindful of heavy countertops. It’s always a good idea to enlist help to avoid injury.
Walls and flooring
Next, tackle the walls. If you remove drywall, score it with a utility knife, and then use a sledgehammer to break it into manageable pieces.
For walls with tiles, use a chisel and hammer to loosen and remove them. When dealing with flooring, start by removing any baseboards. A chisel and hammer work best for tile floors, while a pry bar is effective for hardwood or laminate flooring.
Be thorough in clearing all debris to avoid tripping hazards.
Plumbing and electrical components
Addressing plumbing and electrical components requires extra caution. For plumbing, cap off any exposed pipes to prevent leaks. Use a wrench to disconnect and remove any remaining fixtures. Electrical work demands meticulousness; ensure the power is off before removing outlets, switches, or wiring.
If in doubt, consider hiring a professional demolition service to handle complex tasks safely.
Proper disposal of debris
Proper debris disposal is crucial. Separate recyclable materials like metal, wood, and cardboard from general waste. For large amounts of debris, rent a dumpster or schedule a pickup service. Some items, such as old appliances or hazardous materials, require special disposal methods. Check local regulations to ensure compliance and promote eco-friendly practices.
By following these steps, you’ll navigate the demolition process with confidence and efficiency. Equipped with the right tools, a clear plan, and a commitment to safety, your kitchen transformation will be off to a fantastic start.
Challenges and how to overcome them
Demolition rarely goes off without a hitch. Expect the unexpected, and you’ll be better prepared to tackle any hurdles that come your way. Here’s how to handle everyday challenges and keep your project on track.
Unexpected Issues
Hidden surprises may quickly turn your demolition into a nightmare.
Discovering mold behind walls or outdated wiring halts progress and adds costs. When you encounter mold, stop immediately and assess the severity. Tackle small patches with a bleach solution, but extensive mold requires professional remediation to ensure your safety.
Outdated wiring poses a significant hazard. If you find old or damaged electrical components, bring in a licensed electrician to update your system. Never attempt to handle it yourself unless you’re fully qualified.
Handling structural concerns
Structural concerns are often the most daunting challenge. If you’re knocking down walls, always check if they are load-bearing. Removing a load-bearing wall without proper support causes significant damage to your home.
Consult with a structural engineer or a professional demolition service before proceeding. Use temporary supports like adjustable steel columns to hold up the structure while you work. If you encounter issues like sagging beams or cracking foundations, pause the demolition and seek expert advice.
Addressing these problems promptly will prevent further complications and ensure the stability of your home.
Post-demolition cleanup
With the heavy lifting done, it’s time for post-demolition cleanup to prepare for renovation. Here’s how to tackle it efficiently.
Start by sorting debris into recyclables like metal, wood, and plastics, separating them from general waste. Use heavy-duty trash bags for smaller debris and a dolly for larger pieces. If you’ve rented a dumpster, keep it accessible to streamline the process. Regularly clear the workspace to maintain a tidy area.
After debris removal, focus on a deep clean. Use a high-powered shop vacuum to eliminate dust and small particles. Wipe down all surfaces with a damp cloth and tackle stubborn grime with a scraper or solvent cleaner. Run an air purifier or open windows to clear the air. Ensure every corner is spotless for the next renovation steps.
Conduct a detailed inspection to identify hidden damage, such as cracks, exposed wiring, or plumbing leaks. Be sure to cap all utilities and that no hazardous materials remain. If you find mold or structural damage, consult a professional demolition service immediately. Document and plan to resolve any issues before proceeding.
Efficient debris clearing, thorough cleaning, and careful inspection ensure a solid foundation for your dream kitchen renovation.

Experience the Cutting Edge
Tackling a kitchen demolition is a big job, but it becomes smooth and efficient with the right preparation and guidance. For expert help, call Cutting Edge Demolition. Founded by experienced professionals, we deliver top-notch demolition services with a focus on cleanliness, responsiveness, and professionalism.
We stand out with our commitment to innovation and client satisfaction and we ensure every project is handled precisely and carefully. Experience the Cutting Edge Demolition difference — contact Cutting Edge today to transform your kitchen space with expertise and dedication.


